What is a Task?
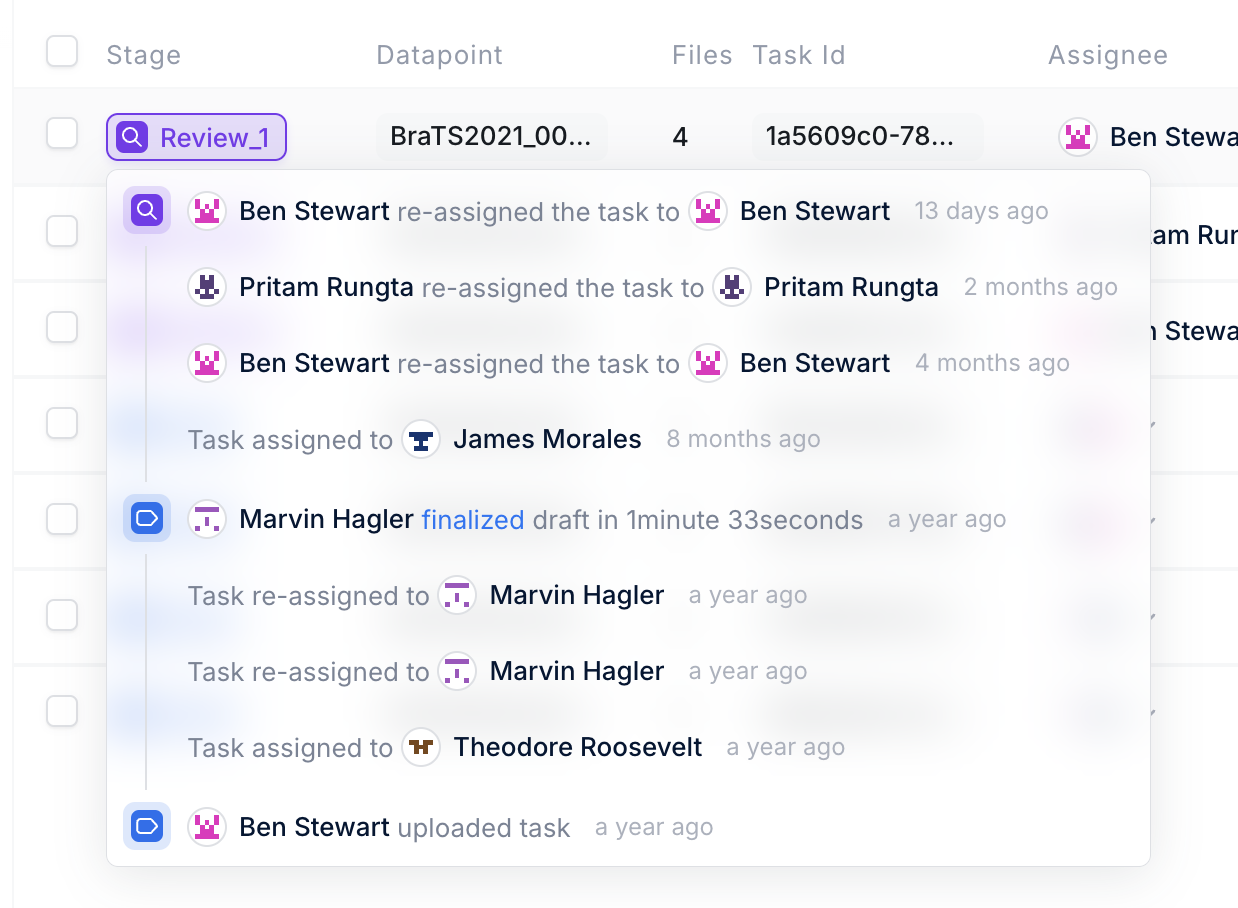
A Task is a unit of work that moves through your project pipeline in RedBrick AI. Tasks can consist of anything - a single image, series, or entire study, and your Labeler works with one Task at a time while annotating. For example, if you’d like your Labelers to view & annotate an entire MRI study comprised of 4 series together, you should upload the 4 series together as a single Task (see “Multi-series Task” below):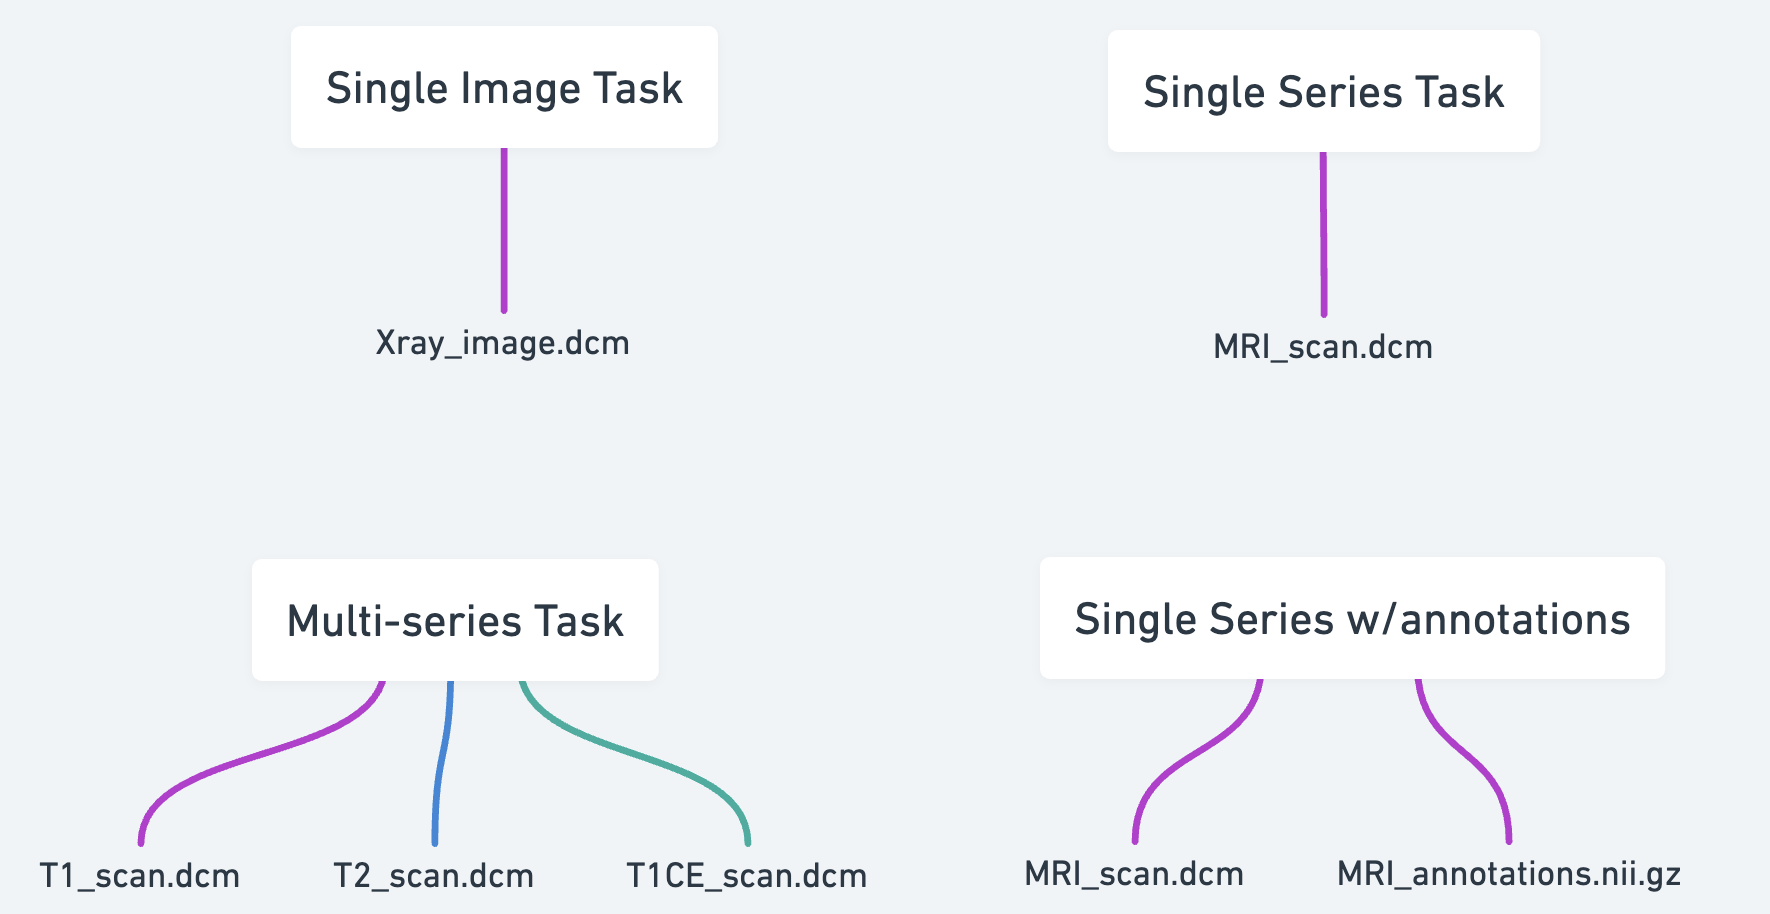
Task Assignment in RedBrick AI
RedBrick AI allows you to delegate work among your team using either automatic or manual task assignment. Any Project Admin or Member with relevant permissions can view a Task on RedBrick AI.Automatic Task Assignment
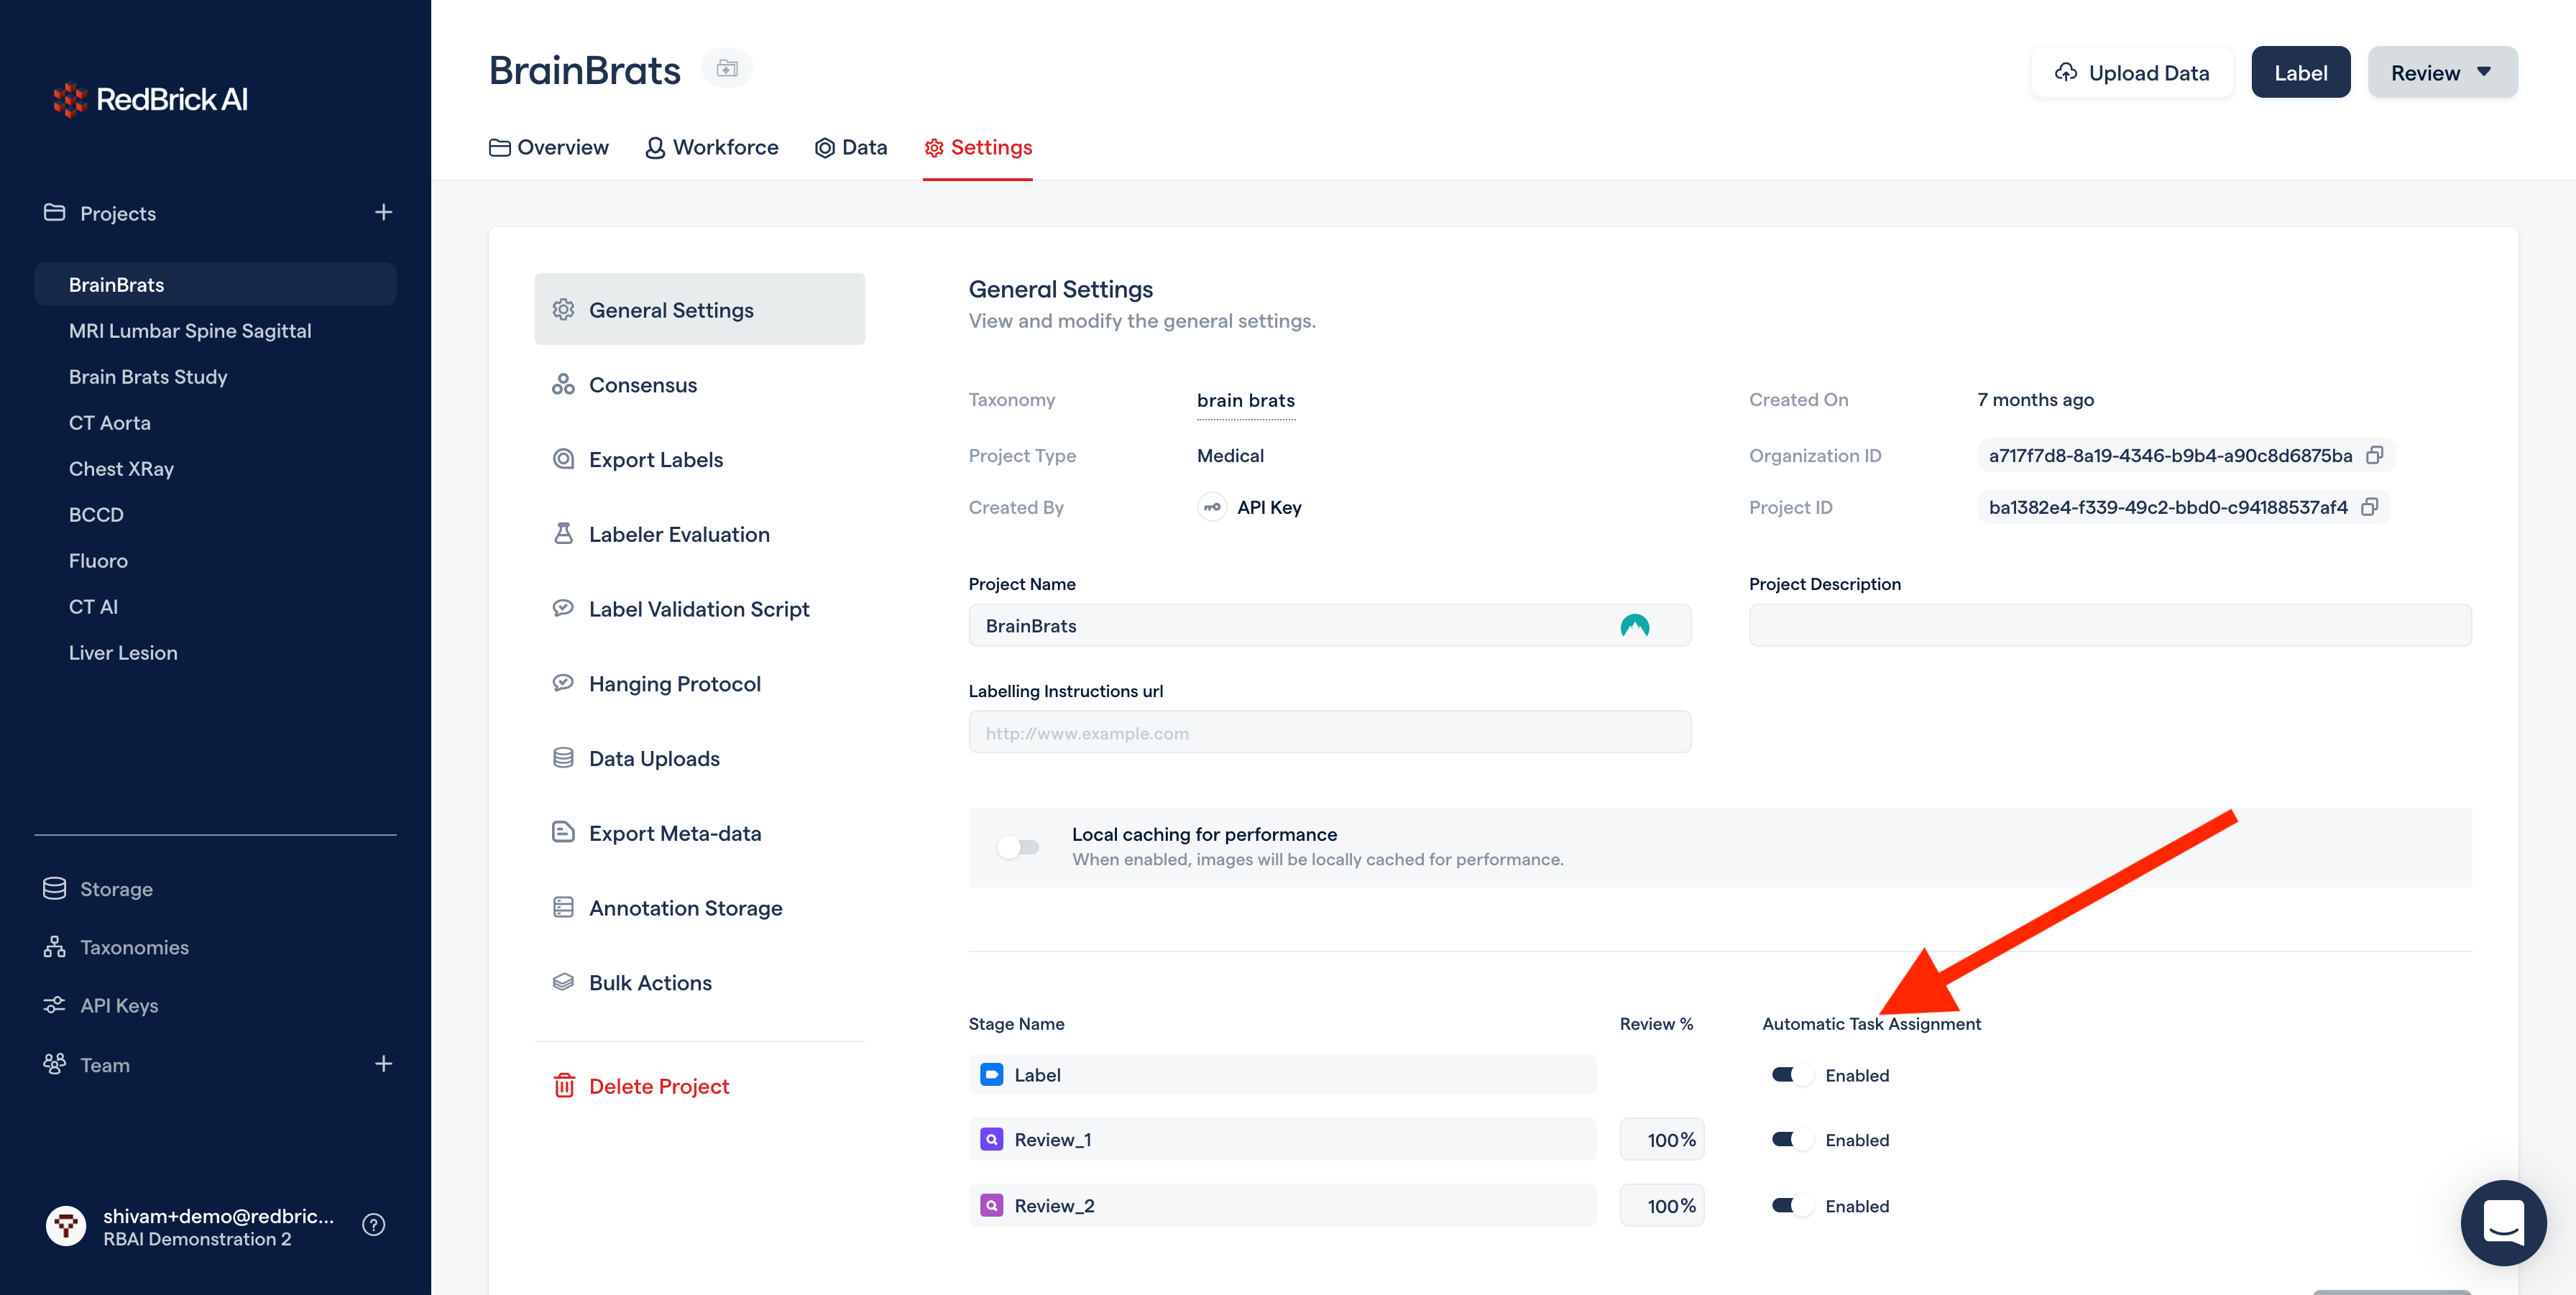
Automatic Task Assignment is enabled by default upon Project creation. The automatic assignment protocol is a first-come-first-serve system, i.e. it assigns the oldest Tasks to the first annotators that request new Tasks. Labelers can request new Tasks by clicking on the “Label/Review” buttons on the Project Dashboard.You can disable Automatic Task Assignment in Project Settings -> General Settings.
Manual Assignment
Admins can also override the automatic assignment protocol and manually assign Tasks to users from the Data Page.RedBrick AI will not automatically re-assign Tasks that have been manually assigned.
Programmatically Assigning Tasks
You can programmatically assign tasks by prescribing the assignment during data upload as part of your Items List or using theassign_tasks() method of our SDK.
Assigning Tasks on Upload
You can use thepreAssign field in the to assign a Task you are uploading to a specific user(s) at each Stage.
For example, the snippet below will assign study_001 to [email protected] in the Label Stage. Once the annotation is complete, the Task will be queued in Review_1 and [email protected] will be assigned as the Reviewer.
Always double check that your Stage Names (i.e., Label, Review_1, etc.) and user emails have been input correctly. Also, when preassigning Tasks, all emails must be associated with an existing Project Member.
Assigning Tasks after Upload
You can use the assign_tasks() method to designate task assignment using the SDK. Please see our SDK Documentation for further details.Labeling Queue
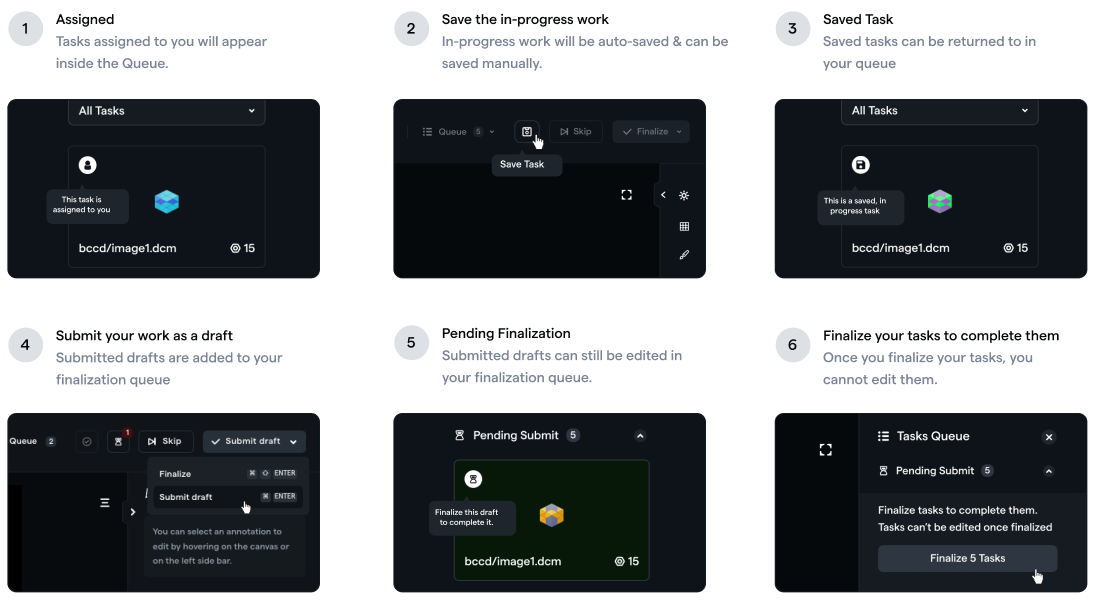
Once a Task is assigned to a user, it is added to their Labeling Queue. You can view your labeling queue in two ways.- From the Data Page:
On the Data Page, you can filter existing Tasks by Queued for Labeling/Review and then by Tasks assigned to you. - In the Annotation Tool:
The Labeling Queue can be expanded/retracted by clicking on the corresponding button in the top bar of the Annotation Tool.
- Assigned
Tasks that you have not worked on yet will be displayed as Assigned. - Saved
Once you save your in-progress annotation (either manually or through auto-save), the Task will show as saved. - Pending Finalization
Once you are done with the annotation, you can Submit a Draft. All drafts that have been submitted will still be in your Labeling Queue pending finalization. You must finalize the draft to complete it and send it to the next stage of the workflow. - Skipped
If you encounter a Task that you would like to complete at a later time, you can skip it to send it to the end of your Labeling Queue.
Task Prioritization
RedBrick AI allows you to designate specific Tasks as prioritized, which elevates them to the top of your Labeling Queue.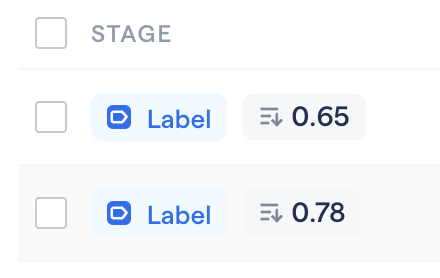
- Task Priority is visible in the Data Page when sorting by Queued for Labeling/Review or Recently Labeled/Reviewed - this logic applies to all Stages except for Ground Truth.
- Task Priority will persist throughout Raising an Issue and/or Rejecting a Task at any Stage.
- Task Priority will be visible in the Annotation Tool when viewing the Queue
- Tasks that are Assigned and Prioritized will occupy a higher position in the queue than Tasks that are Unassigned and Prioritized.
update_tasks_priority() method to designate a float between 0 and 1 that reflects the priority of a given Task (where 1 is the highest priority and 0 is the lowest).
For the truly brave, our Prioritization API supports up to the billionth place for floats.
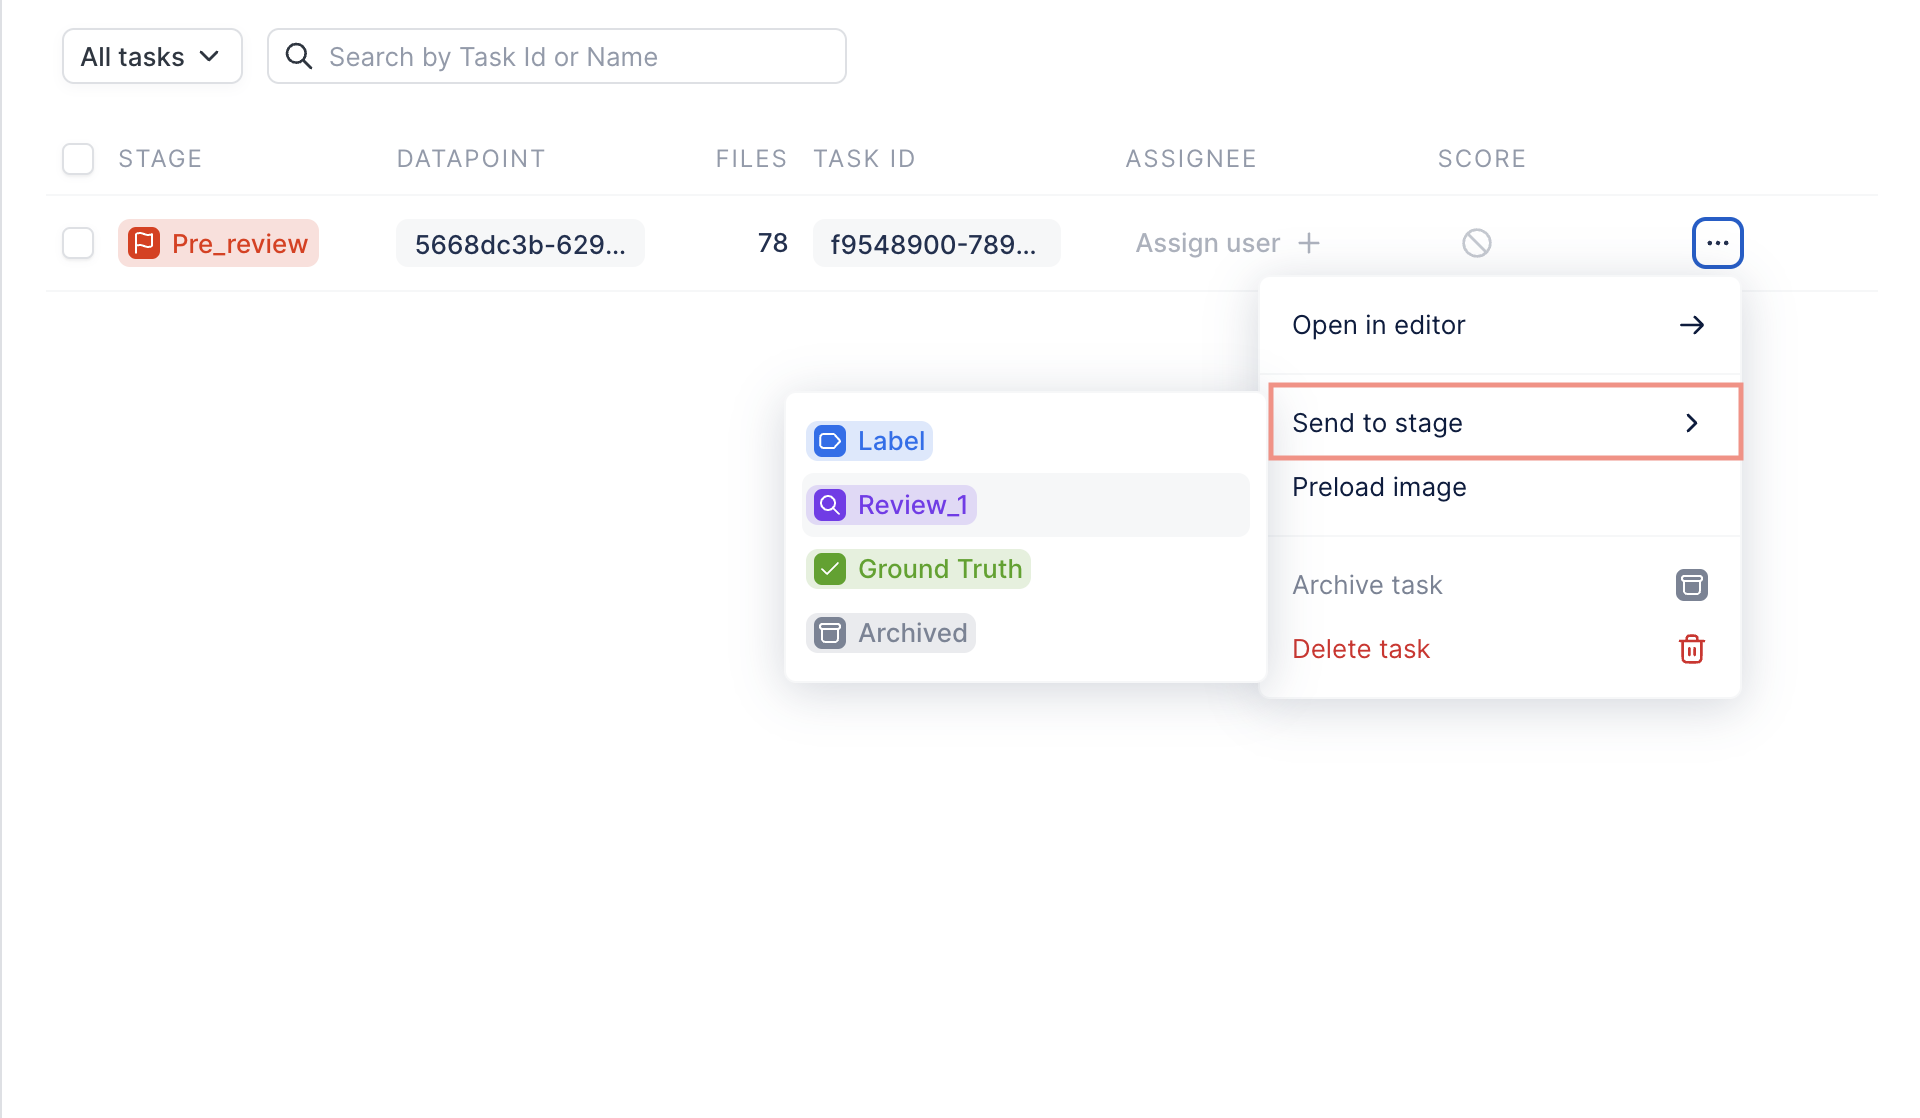
Send to Stage
